Blog-post
Timber Wall Formwork: Ties, Walers and Bracing

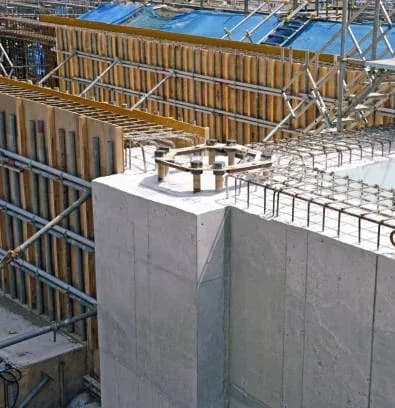
Plenty of concrete walls are still formed in plywood and lumber. Modular systems pay off when the same form is used again and again. For a water treatment plant upgrade, a containment wall or a canal structure, site-built timber forms are often the better buy, as long as the drawings tell the crew exactly where every tie, waler and brace goes.
This post explains how a timber wall form carries the concrete, what decides the spacing of its parts, and what a wall formwork drawing should show, with examples from three of our recent projects.
How a timber wall form carries the load
Fresh concrete pushes sideways on the form, and the load path is short:
- Sheathing. The plywood takes the pressure and spans between the studs.
- Studs. Vertical lumber carries the sheathing and spans between the walers.
- Walers. Horizontal lumber, often doubled or 4×4, collects the stud loads and carries them to the ties.
- Ties. Steel ties through the wall hold the two faces together. The ties take the concrete pressure.
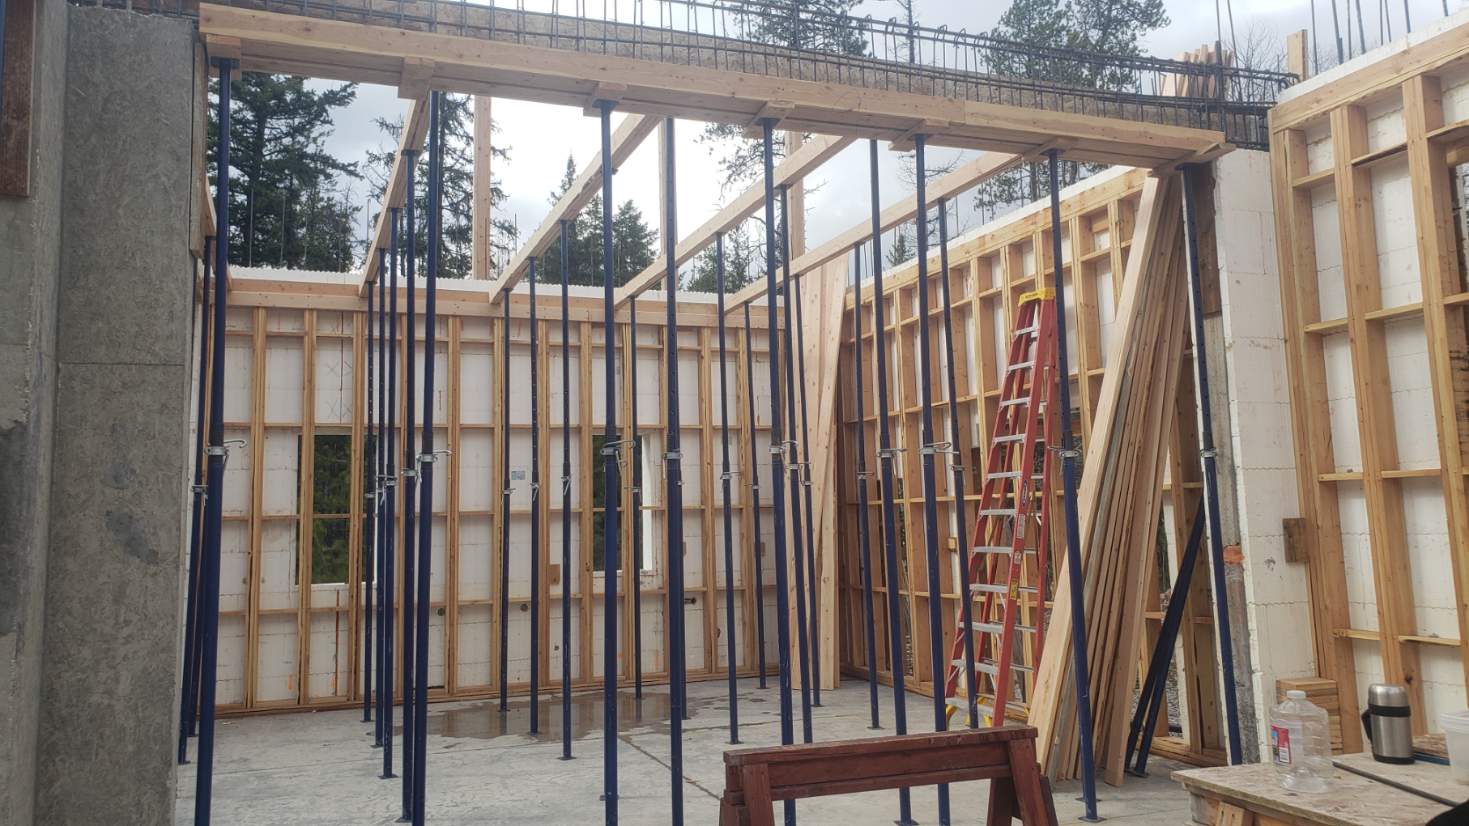
- Strongbacks and braces. They keep the wall straight and plumb, and resist wind and construction loads. They are not there to hold back the concrete.
The last point matters on site: a brace that is "helping" the ties is a sign that the ties are overloaded.
How much pressure?
The lateral pressure of fresh concrete depends on how fast it rises in the form, its temperature, the mix and how it is vibrated. ACI 347R, the American Concrete Institute's guide to formwork, gives the design pressure for walls and columns.
The upper limit is simple: the full liquid head, the unit weight of the concrete times the depth. Normal-weight concrete weighs about 150 lb/ft³, so a wall placed 10 ft deep in one go can push up to 1,500 lb/ft² at the bottom.
Two consequences for the drawing:
- Pressure grows with depth, so ties and walers sit closer together at the bottom of a tall wall than at the top.
- The rate of placement is a design assumption. If the design assumes the wall is placed in slow lifts, the drawing has to say so. Pump the wall full in twenty minutes and you get the full liquid head.
Tie spacing: the arithmetic
Each tie carries the pressure on the area around it:
tie load = pressure × horizontal spacing × vertical spacing
With a tie rated for a safe working load of 3,000 lb and 1,500 lb/ft² at the bottom of the wall, each tie can take 2 ft² of form: for example 2 ft horizontally by 1 ft vertically. Higher up, where the pressure is lower, the same ties can be spaced further apart.
Always use the safe working load of the tie you actually buy. Snap ties, coil ties, taper ties and cam-ties all have different capacities, and so do different sizes of the same tie. The studs, walers and sheathing are then sized so that none of them bends too much between its supports. Where the concrete surface stays visible, deflection usually decides the size before strength does.
Panels instead of loose lumber
On the F.M. Woods water treatment plant upgrade, Sercon Construction formed the new walls in site-built plywood panels. We drew every pour phase on its own sheets and listed every panel in a panel schedule with its size, count, lumber length and plywood area. The panels go up to 8 ft × 21 ft, with 4×4 walers, form ties and corner ties, filler pieces where new walls meet the existing structure, and waterstops at the construction joints.
A panel schedule changes how the crew works: panels are built in the yard, labelled, set, and reused in the next phase instead of being cut again on the wall.
Pour breaks decide the forms
Formwork follows the pour breaks, so check them before drawing. On F.M. Woods we sent questions on the engineer's pour break drawing back before sizing a single panel. Where two walls carried a crane corbel, we proposed splitting the pour at the corbel, because concrete placed in the higher panels could otherwise flow down into the lower ones.
Bracing and alignment
Braces hold the form plumb and against the wind. On slab-on-grade work they usually land on stakes. For the chemical storage area of the Pineda Causeway BPS in Melbourne, Florida, L7 Construction formed the slab, footings and walls in four pours with:
- 2×4 diagonal braces nailed to 2×4 stakes driven into the ground
- lumber strongbacks and form aligners on the walls
- plywood block-out boxes for the openings
- the phase 1 forms reused in phase 2

Proprietary hardware on timber panels
Timber forms do not have to mean nails and snap ties only. For phase 3 of the UC Davis Equine Performance and Rehabilitation Center, we detailed plywood panels with Cam-Lock brackets, stiff-back clamps and cam-ties, for walls that step down into a treadmill pit. The lumber schedule counts every kicker brace: 886 of them in one phase.

What a timber wall formwork drawing should show
- A plan for each pour phase, with every panel tagged
- Sections with the tie and waler spacing and the pour height
- The tie type, its safe working load, and the rate of placement the design assumes
- Brace and stake details, strongbacks and aligners
- Construction joints, waterstops, embeds and block-outs
- Panel, lumber and hardware schedules per phase, so the material is ordered once
- A 3D view of each phase, so the crew sees the form before building it
A note on engineering
Design pressures, tie capacities and bracing must follow ACI 347R or your local code, and the manufacturer's data for the hardware you use. If your contract or jurisdiction requires formwork drawings sealed by a licensed engineer, tell us when you ask for a quote.
For the basics of timber formwork, read How to Design Formwork for Concrete Using Wood Lumber and Panels. For pour breaks and joints, see Formwork Shop Drawings and Construction Joint Layout.
#Formwork, #FormworkDesign, #WallFormwork, #TimberFormwork, #ShopDrawings, #ConcreteConstruction